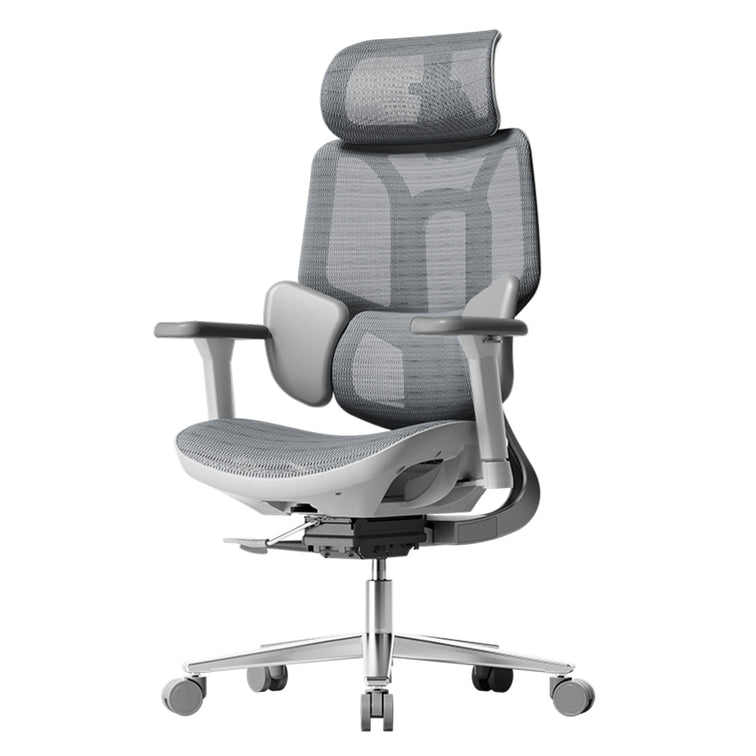
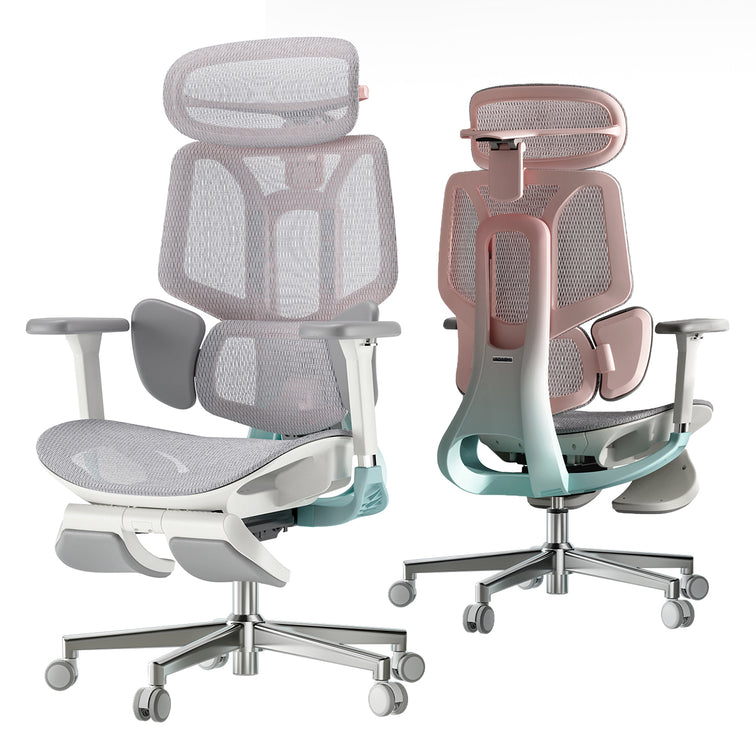
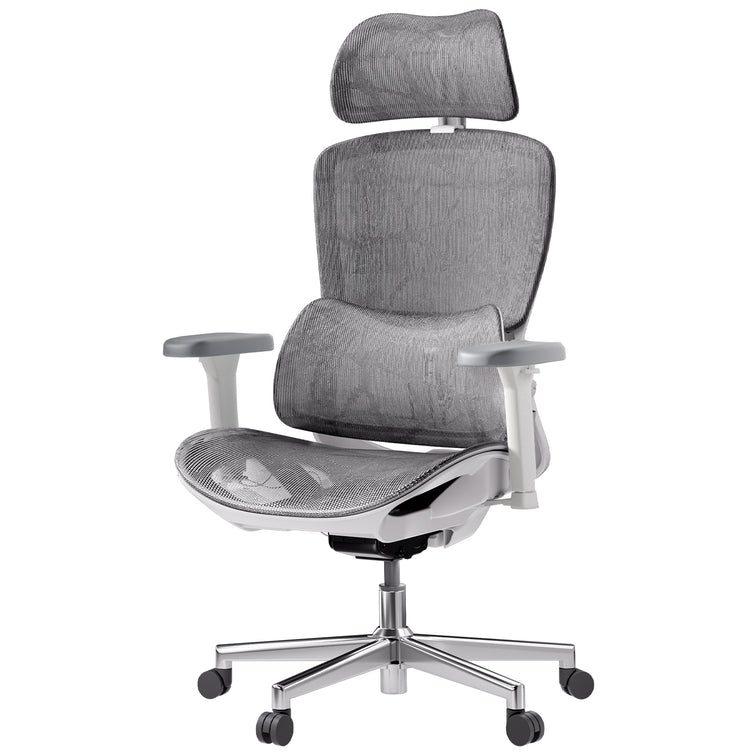

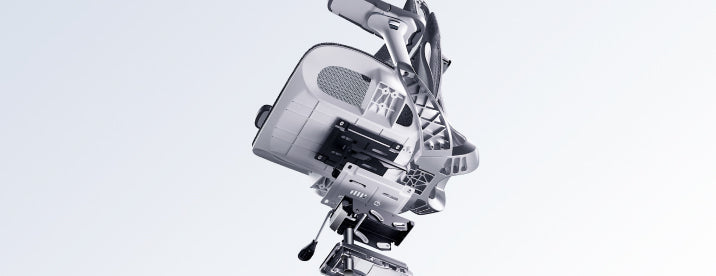



If your office chair gradually sinks every time you sit on it, can't maintain its height, or feels a bit wobbly, the gas cylinder is almost certainly the culprit. The good news is that you don't need to buy a whole new chair. Simply removing the old gas cylinder and replacing it with a new one will solve the problem. While it might sound a bit daunting, it's actually not—many people complete the task at home in under 30 minutes. In this Hbada guide, we'll walk you through how to remove your office chair's gas cylinder with clear, step-by-step instructions.
Why you might need to remove your gas cylinder
Before we dive into the steps, let's understand why this problem occurs. The gas cylinder is the component that adjusts your chair's seat height. Over time, with daily use, it can wear out. Here are some common signs that your gas cylinder might need replacing:
| Sign | What it means |
|---|---|
| Chair slowly sinks while you're sitting | Nitrogen pressure leaking from the cylinder |
| Height adjustment lever is unresponsive | Internal valve mechanism has degraded |
| Hissing sound when you sit down | Gas leaking within the cylinder |
| Chair feels wobbly or unstable | Seals or connection points of the seat plate have deteriorated |
| Doesn't stay at desired height | Locking valve can't hold pressure |
If you're experiencing any of the above, don't worry. This is a common issue, and it's easily fixable once you know the steps. For those interested in understanding the mechanism in more detail, we also have an article explaining why chairs sink and how Hbada is working to improve cylinder durability, which you might find helpful.
What you'll need before you start
You won't need an extensive toolkit. Most of what you need you probably already have at home.
| Tool | Purpose |
|---|---|
| Pipe wrench or large adjustable wrench | To loosen the seat plate from the cylinder |
| Rubber mallet or regular hammer | To tap the cylinder loose from the base |
| Block of wood | To protect the base from dents when tapping |
| Work gloves | To protect your hands from sharp edges of the seat plate |
| Helper (optional) | To stabilize the base during the process |
That's all you need. No power tools are necessary; primarily, it's about leverage and a little patience.
Steps: How to remove an office chair gas cylinder
Now, let's go through the actual steps. Take your time and proceed carefully with each one.
Step 1: Invert the chair
Flip the chair over so the base is facing upwards. Work on a soft surface like a rug, towel, or cardboard to protect your floor. This position will give you easier access to the base and cylinder under the seat.
Step 2: Locate the gas cylinder
Look at the center of the chair's base. You should see a long metal tube connecting the base to the seat. That's the gas cylinder. It's usually covered by a plastic sleeve, which you might need to slide down or remove first.
Step 3: Secure the base
Before proceeding, stabilize the base to prevent it from rotating. You can have someone hold the base down or brace it with your knees. If you're working alone, pressing the base against a wall or sturdy object is also effective.
Step 4: Apply leverage with a wrench
This is the most crucial step of the entire process. Wrap a pipe wrench or adjustable wrench around the upper part of the cylinder, just below where it connects to the seat plate. Grip it firmly and twist it towards you. Use the wrench as a lever, combining it with a downward pulling motion, to start loosening the seat plate from the cylinder.
Step 5: Separate the seat from the base
Once the seat plate starts to loosen, you can often remove it by hand. If it's still stuck, keep holding the wrench and gently tap around the edge of the seat plate with a rubber mallet. This will help release it without damaging the components.
Step 6: Remove the cylinder from the base
Now turn your attention to the underside of the chair. The cylinder might not just fall out due to friction. Place a block of wood against the base near the cylinder and tap it with a hammer. The key is to tap evenly around the entire circumference, not just one spot. After a few taps, the cylinder should slide out.
Step 7: Clean the base and seat plate
Before installing the new cylinder, wipe down the inside of the base and the attachment point on the seat plate. Dust and old grease can accumulate over time, and a clean surface will ensure proper installation of the new component.
Installing the new gas cylinder
Once you've successfully removed the old cylinder, installing the new one is much simpler. Align the new cylinder with the hole in the base and push it in until you hear a "click." Then, place the seat plate on top and push down firmly until it's securely locked. Flip the chair back over and test the height adjustment lever to ensure it moves smoothly.
Common mistakes to avoid
While the process is straightforward, overlooking a few details can make the job much harder.
- Tapping without a block of wood: Directly hitting a metal base with a hammer can cause dents or cracks. Always use a block of wood as a cushion and don't substitute it with other materials.
- Pulling hard without twisting: Pulling quickly without a twisting motion can cause your hand to slip and lead to injury. Proceed slowly and steadily.
- Not securing the base: If the base rotates during the process, it not only wastes your effort but also causes frustration. Always secure it first.
- Forgetting gloves: The edges of the seat plate can be sharp, so wearing gloves will properly protect your hands during the work.
Is it safe to remove the gas cylinder yourself?
Yes, for most people, it's a safe task to perform at home. Gas cylinders are sealed, gas-filled components, but they are designed to withstand daily use and pose no special hazard. As long as you don't puncture or crush the cylinder with sharp objects, you can proceed without issue. Follow the twisting, pulling, and tapping steps as described above.
However, if your chair shows significant damage or rust, or if gas is visibly leaking from the cylinder, stop the process and consult a professional or contact Hbada support.
When to replace rather than repair the cylinder?
There's usually no practical way to repair a faulty gas cylinder. If your chair is unstable or sinking, the best solution is to remove the old cylinder and replace it with a new one. Attempting to repair or refill a used cylinder is not practical, and it's much simpler to replace it with an affordable new part.
Conclusion
Knowing how to remove your office chair's gas cylinder is a useful skill that saves you time and money. If the problem is due to a single component, there's no need to buy a whole new chair. With a wrench, a rubber mallet, and a little patience, your chair will be back to comfortable use in no time.
Hbada chairs are designed with ease of maintenance in mind, precisely so that you can perform such tasks simply and without stress. If you encounter any issues during the process, our support team is always ready to assist you.
Frequently Asked Questions
1. What's the best way to remove a gas cylinder without special tools? A common pipe wrench or adjustable wrench and a rubber mallet are usually sufficient. Many households have these tools, so no special purchase is needed.
2. Is it difficult to do it myself? Not particularly difficult. It requires some strength and patience, but the steps are simple, and many people can do it themselves without professional help.
3. How long does it take to remove a gas cylinder? It varies depending on how stuck the parts are and if you have a helper, but it typically takes about 15-30 minutes.
4. Can I reuse an old, removed cylinder? If gas has leaked or pressure has decreased, it's usually not reusable. In such cases, we recommend replacing it with a new one.
5. What if the cylinder won't come out of the base? Use a block of wood and a hammer, tapping evenly around the base. Avoid concentrating force in one spot, and ensure the chair is stable during the process.
6. Are Hbada replacement cylinders easy to install? Yes, Hbada cylinders are designed to fit standard chair bases, so once the old component is removed, installation should be smooth.